


What is ‘502 Bad Gateway error’?
502 Bad Gateway error is an HTTP status code error, which may indicate that a server on the inter received an invalid response from another server. The error may be caused by issues between online servers, an issue with your browser, or an issue with your home networking equipment. It could appear in any browser, device, or operating system.
The error may manifest as Error 502, Temporary Error (502), 502 Service Temporarily Overloaded to name a few.
How can you fix ‘502 Bad Gateway error’?
Some of the common fixes include:
* Using another web browser
* Clearing the browser data cache and disabling extensions
* Configuring the network settings
Please see our in-depth walk-through solutions below.
If the error disappears by using another browser, try to clear the cache data or disable the web browser extension, plug-in, or add-on. If the error occurs when using another browser, it is possible that your network is having a problem.
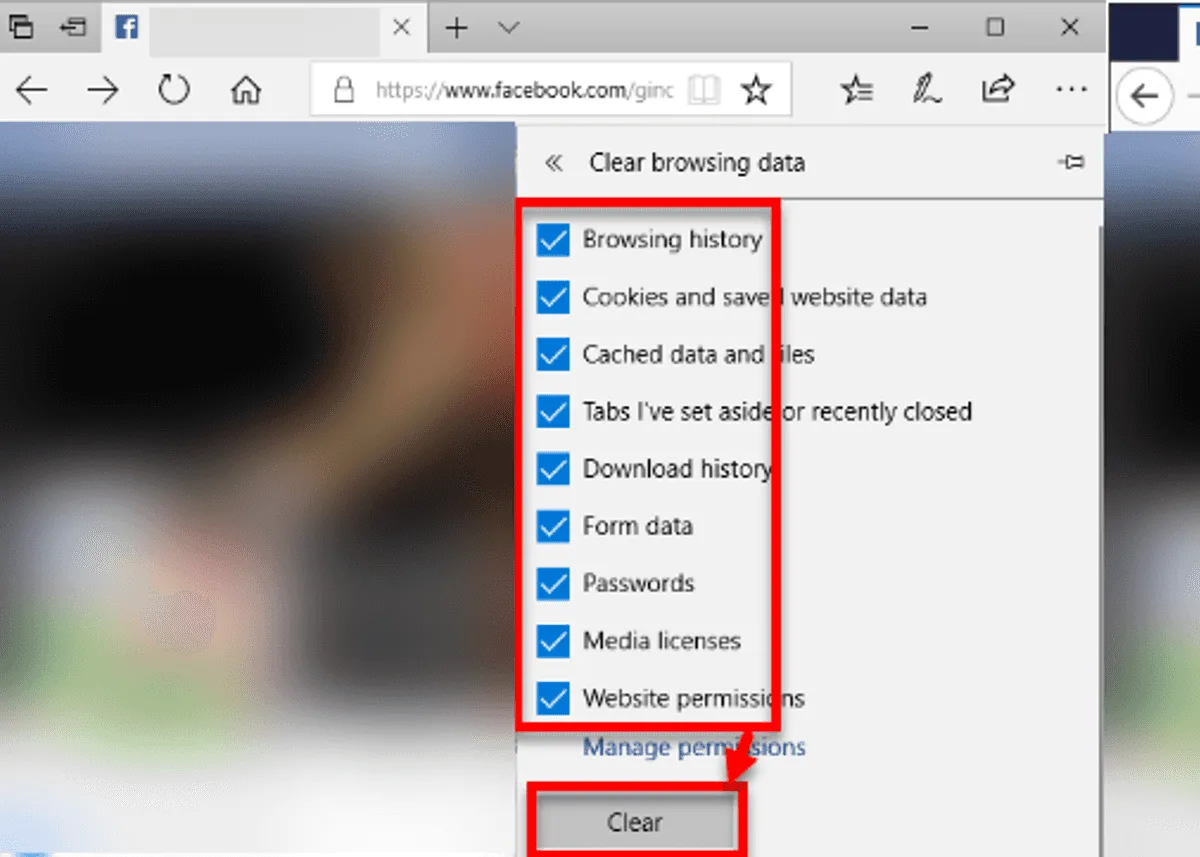
Clear Browser Cache Data


- Run the web browser with an error.
- Press SHIFT + CTRL+ DEL key, to open up Clear Cache window.
- It should be set From the beginning or All-time, in the Time Range.
- Click Clear.
- Restart your Browser.
- Check if the error is solved.
Disable or uninstall extension
- Open a browser.
- Google Chrome: chrome://extensions/ into the address bar.
Mozilla Firefox:Shift+Ctrl+A key. -
Disable or Uninstall unnecessarily apps.
-
Power cycle the device and the network device by shutting it down and removing it from the power source for at least three minutes before turning it back on.
- Temporarily disable or uninstall anti-virus, firewall, and proxy.
- If you have a separate router and modem, directly connect to the modem.
- Configure IP and DNS address to auto obtain. See below for instructions.
- Call your Internet service provider, they might be the cause of the problem.
Configure IP and DNS address
Watch it here on YouTube
- Go to Control Panel and click View Network Status and Tasks.
- Click Change adapter settings.
- Right-click Ethernet or WiFi and select Properties.
- Highlight Internet Protocol version 4 and click Properties
- Select Obtain an IP address automatically and Obtain a DNS address automatically.
Optional: Input 8.8.8.8 and 8.8.4.4 in the DNS address. - Restart your computer.

